
Typical Custom Home Construction Process
For many homeowners, building a custom home is a new adventure. If a homeowner has not been through the construction process, it can be unfamiliar, unpredictable, and sometimes uncomfortable. Before construction begins, we like to give our clients a general sequence of events for construction. This helps them anticipate next steps and set their expectations. Below is a very high-level construction sequence for a typical ground up custom home. The sequence may vary for your unique project and on the General Contractor building the project.
Secure permits
The first step to the construction process is to pull the appropriate permits and obtain all required approvals from you local building department, Home Owners Association, Design Review Boards, and any other agencies. Typically your Architect will chaperone the plan check process and secure all necessary approvals. When approvals have been granted by all required agencies, the contractor can go to the city to pull the permits.

Building Plan Approval
City Pre-Construction Meeting
Depending on the location of the project, the local building department may require a pre-construction meeting. This is sometimes called a “Pre-Grade” meeting. Attendees of the meeting are usually the Architect, General Contractor, Owner, Geologist, and Grading/Foundation Subcontractor(s).
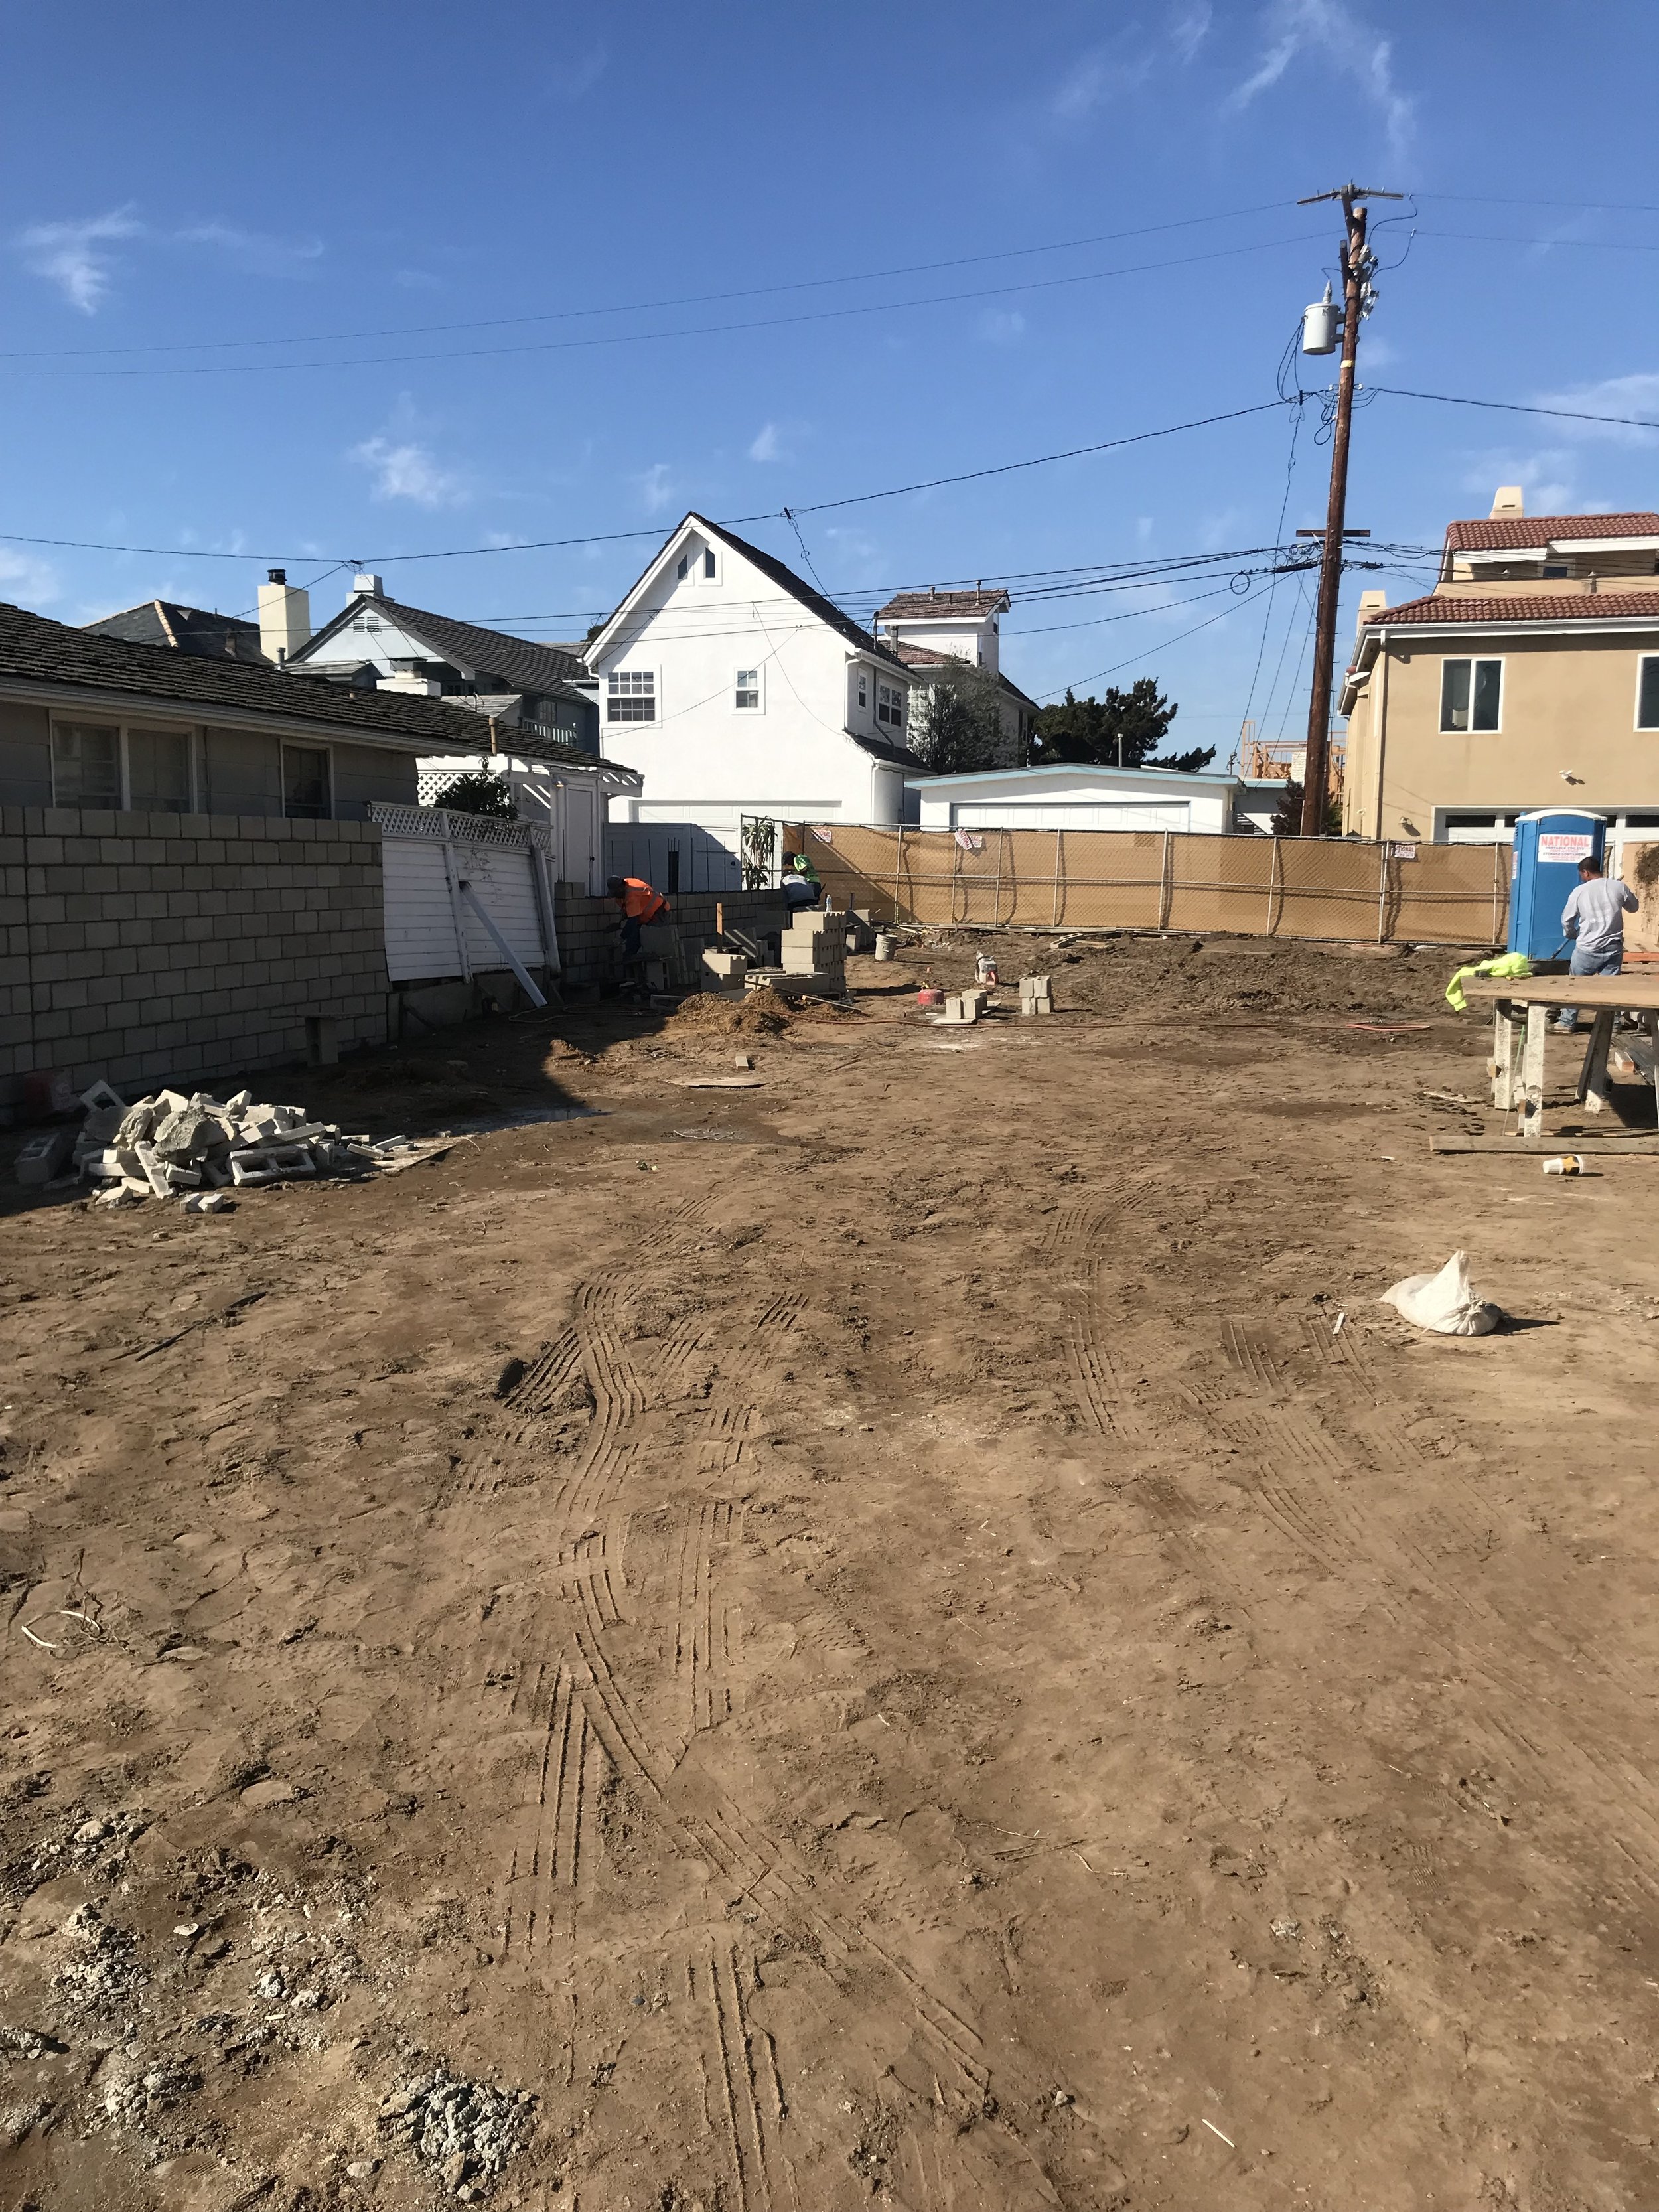
Prepare site
Before construction begins, the General Contractor will need to prepare the site for work. This can include items such as vegetation and debris clearing, installation of sediment control systems, installation of temporary power and installation of a construction fence. If the job requires a job site trailer, toilet or other structures needed for the construction team, they will be installed in during site preparation.
Demolition (If Required) and Rough Grading
Next, the demolition team with remove any existing structures that will need to be removed for the new building. After the land is clear, rough grading will begin. In rough grading, the contractor will reshape the earth to prepare for the foundation to be constructed. This may include excavation for footings/grade beams and drilling for caissons. Rough grading work is done according to the grading plan, structural plan and foundation plan prepared by the design team.

Demolition
Rough Grading
Foundation
After rough grading, the construction team will begin to stake out, frame the footings, grade beams, caissons and floor slab as required by the project drawings. The construction team will also lay any moisture barrier systems or insulation below the foundation required. Steel base templates and framing hold downs will be installed at this time. Any in-slab utilities such as plumbing/gas lines and electrical conduit are laid.
Before pouring concrete, the work needs to be inspected by the local building inspector. The inspector will check the depth of the footing, compaction of the soil, and overall design of the foundation to make sure it conforms with the drawings and local building codes. The structural engineer and Architect will typically come out to observe the work. Ideally the observations and inspections take place while the foundation sub-contractor is still on site, this way they can make any corrections required. After the foundation is inspected and approve, concrete can be poured.

Laying out foundation formwork

Foundation framing

Pouring the foundation
Framing
After the foundation is completed, framing can begin. This may include structural steel, light gauge steel or wood framing.,
The contractor and framing sub contractor will Install sheathing for shear walls, frame door and window openings, and frame non structural framing. After framing is complete, usually the building inspector and structural engineer will be called to the site to review the work.

Framing Begins

Framing the second level
Systems Rough In
During framing HVAC, Plumbing, Electrical, AV and any specialty system can start to be “roughed in.” Light housings can be installed, ducting is run, electrical wire is pulled, speaker housings are installed and air diffusers are set. All of these systems must be roughed in before insulation is installed.

Mechanical, Electrical and Plumbing Rough In
Exterior Building Air/Moisture Barrier
While the systems are being roughed in, the contractor can begin wrapping the exterior of the home in the specified moisture/air barrier. Roof systems and membranes can also be installed. All flashing and sill pans around door and window systems and the foundation can be installed.

Air/Moisture Barrier Installation. Image courtesy of Tyvek.
Install Doors and Windows
Next, the doors and windows can be installed. It is important to note that rough dimensions for the door and window order based on the framing should be taken as soon as framing is complete. There is often long lead times for door and window orders so placing the order asap is critical to minimize schedule delays . After all exterior weather barriers and the doors and window are installed, the house is “sealed” and work on the interior finishing can begin.
Exterior Cladding & Finishes
While work on the interior is starting, the exterior finish materials such as masonry veneer, stucco, wood sidings can be applied. Any architectural break metals can also be installed at this point.

Exterior Stone Installed
Insulation and Interior finishes
Insulation and interior finishes can start right after the building is sealed. The insulation should be kept dry before, during and after installation to be sure that no moisture is trapped in the wall cavity. This could result in mold and rot over time. After the insulation is installed, the inspector will typically come out to review the work. Next drywall can be hung, finished and any interior trims or moldings can be installed.
Cabinets/Casework
Next, the casework and cabinets can be installed. It is important to begin working through the shop drawings with the casework fabricator several months before the casework is ready to be delivered and installed. The lead times for custom cabinet fabrication can be long.
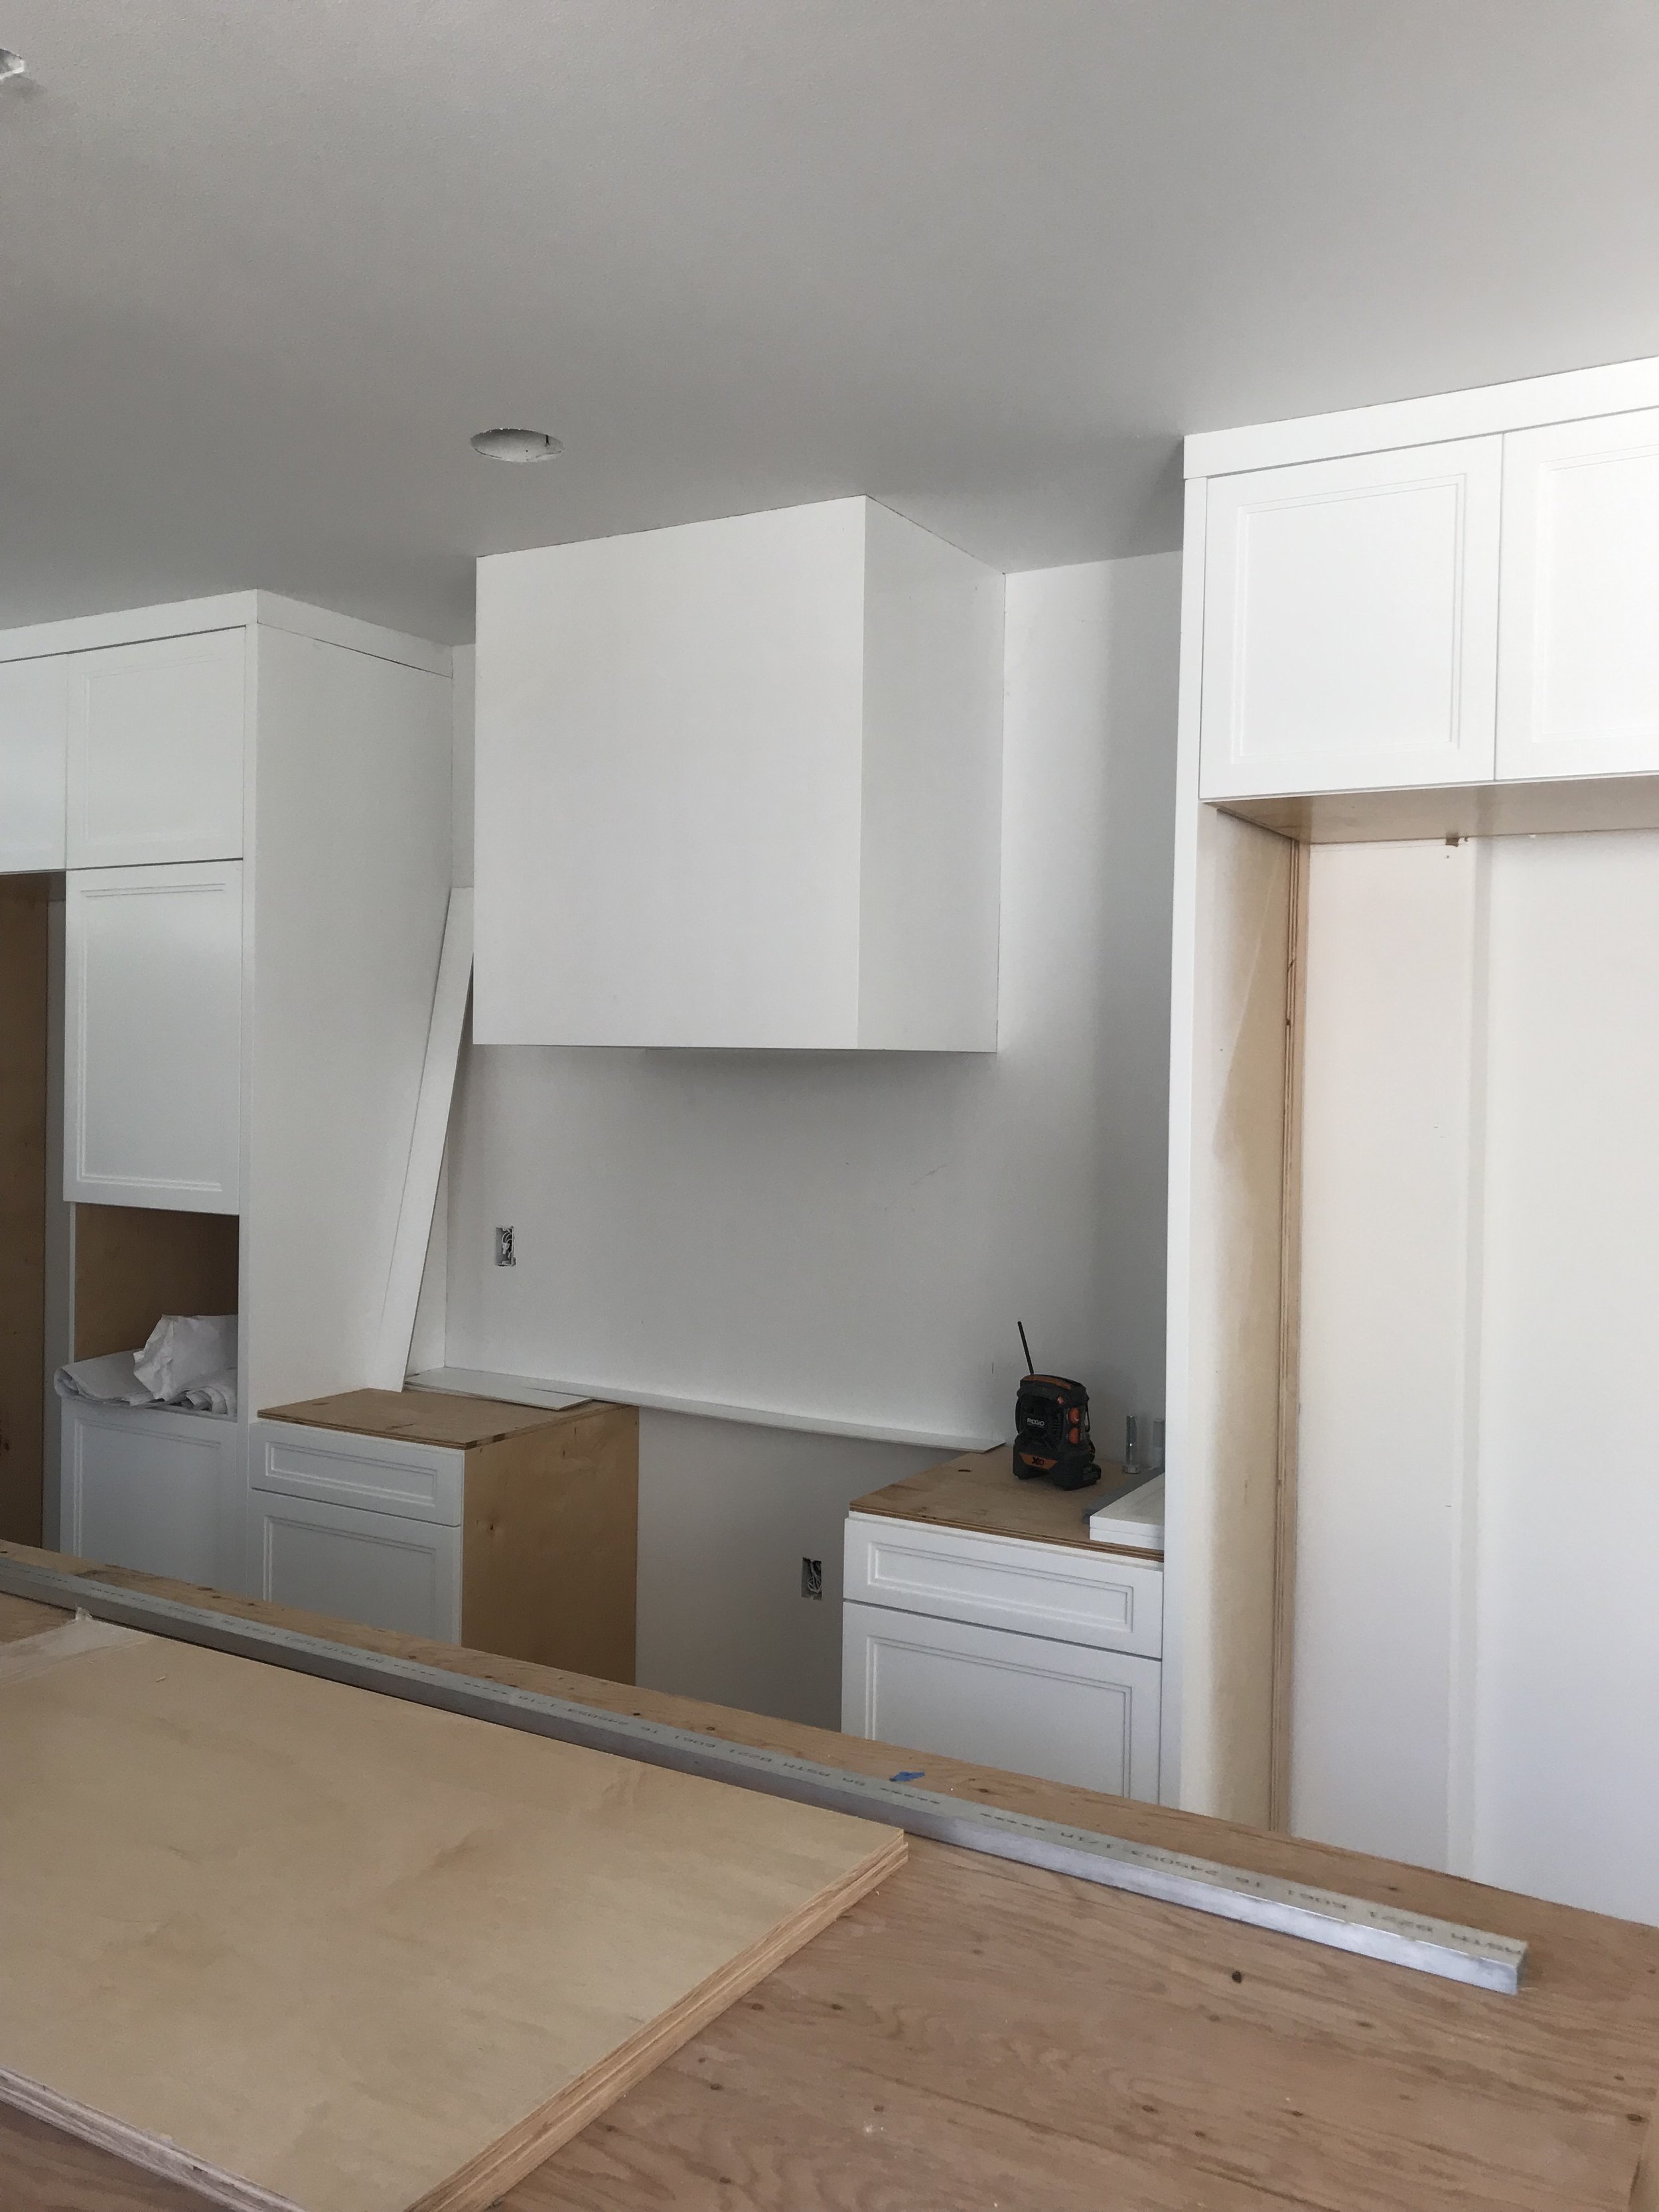
Casework Installation
Flooring
Flooring can be installed after the casework is all in. This sequence can vary in some instances depending on the type of vanity or casework in each space. is important to protect the flooring after it is installed using a thick paper based product such as Ram Board.
Finish HVAC, Plumbing, Electrical and Audio Visual
This includes items such as face plates for electrical, HVAC diffuser plates, faucets, sinks, toilets and bathtubs. Any decorative lighting such as pendants and wall sconces will be installed at the time as well.
Final Finishes
As the interior of the home is nearing completion, interior doors will be hung, door hardware installed, bathroom accessories mounted, and mirrors will be installed.

Door Hardware Installed
Final Exterior Grading, Drainage, Irrigation, Hardscape and Landscape
While the interior is being finished, there is often a team working to complete the exterior grading, drainage, irrigation, hardscape and installing the landscape. Items such as casting concrete pads, installing gravel, and installing plants will happen at this point in the project. The exterior finishes can really bring the project to life.
Punch List
Towards the end of the project the project team and owners will create a “punch list” of items that need to be addressed in order to complete the project. The team will walk through the project and review each item with the contractor, making sure that the house has been completed as designed.
If you would like to get more details about the construction process for your specific project, feel free to contact us at www.rostarchitects.com